Turning your React Websites into Phone Apps
📣 Sponsor
Building web applications is something a whole generation of developers have grown up with. Building phone applications in android and iOS, however, usually requires knowledge of Swift or Kotlin, which may not be your first language in programming.
Having all your code work on all devices, in the same repo, is the dream scenario for those building web first. Fortunately we can accomplish just that with Apache Cordova. In this article, we'll be looking at how you can take your React project and transform it into a native iOS or Android application. Let's get started.
Note: This tutorial is based off react-create-app. If you haven't used this before, you can create a new app with the below command. This will create a standard React file structure:
npx react-create-app my-app
Step 1: Cordova #
Cordova allows us to turn HTML, CSS and Javascript websites into native iOS applications. To get started, let's install it on the command line. The -g is important here, so we can use cordova on the command line:
npm i -g cordova
Next up, we need to create a cordova folder. Open your react project, and in the base directory, run the following command:
cordova create cordova
This simple line creates a new project called 'cordova' within your React folder structure. You could do cordova create myApp to create a myApp folder, but I find it easier to label this folder cordova in already existing projects.
Step 2: Update your Package.json #
In your root React directory, you'll have a package.json file. We need to add one line to this, which is "homepage" : "./". This needs to be added so all the cordova files we will build in the future have the right paths:
// ...
"private": true,
"homepage": "./",
"dependencies": {
// ...
Step 3: Move your cordova script #
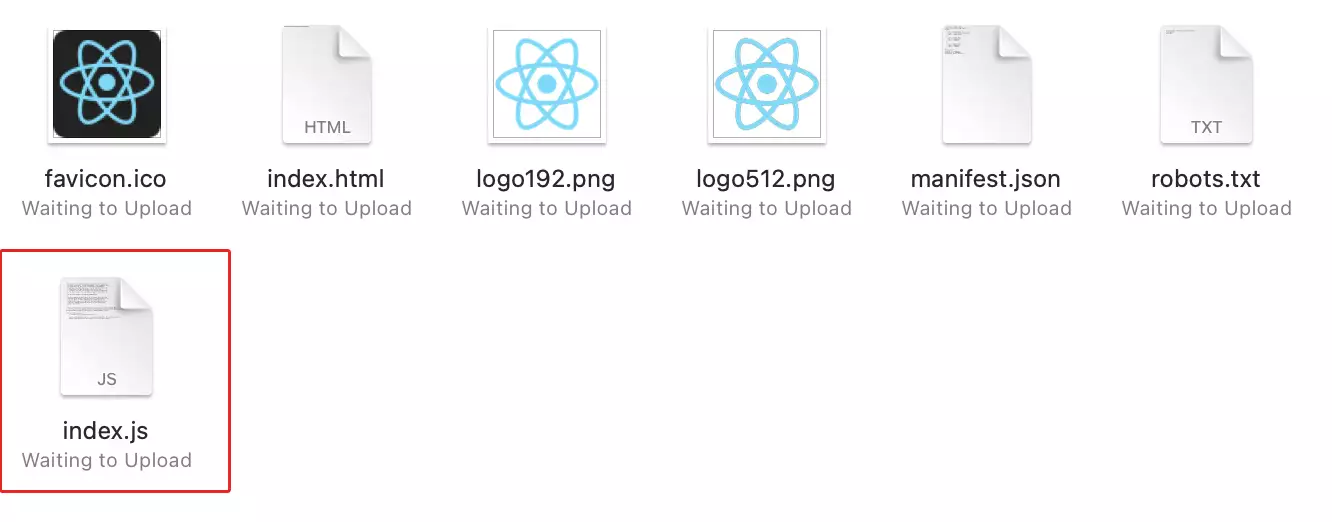
Next, go into your cordova folder, and find the index.js file that will have been generated in ./cordova/www/js/index.js. Copy this script and place it in your React ./public folder, as shown below:

Update your index.html file in ./public to include this new file, after your root div:
<body>
    <noscript>You need to enable JavaScript to run this app.</noscript>
    <div id="root"></div>
    <!-- this is your cordova script index.js file: -->
    <script src="index.js"></script>
</body>
Update your index.jsx #
Next, we need to update our index.jsx file in our React ./src folder, so that it will recognise cordova if cordova is available. To do that, update it to look like this:
import React from 'react';
import ReactDOM from 'react-dom';
import './index.css';
import App from './App';
import reportWebVitals from './reportWebVitals';
import { Social } from './components/Social'

let startApp = () => {
  ReactDOM.render(
    <react.strictmode>
      <app>
      <social>
    </social></app></react.strictmode>,
    document.getElementById('root')
  );
}

if(!window.cordova) {
  startApp()
} else {
  document.addEventListener('deviceready', startApp, false)
}

reportWebVitals();
The code above will run a normal react app if you are accessing it via the web, or it will run the cordova deviceready event we are on iOS or Android.
If you are running on typescript, you'll need to add the cordova object to your window object. You can do that by adding the following to the top of you index.tsx file, below the import statements:
declare global {
  interface Window { cordova: any; }
}

window.cordova = window.cordova || false;
Step 4: Add a build command to your package.json #
Next up, add a build command to your package.json. When we build, we want to do two things:
- Create a normal React build, for web usage
- Copy that build to
./cordova/www, so it is available for iOS and Android
Update your package.json scripts to look like the code below. Notice how we've updated the build line:
"scripts": {
    "start": "react-scripts start",
    "build": "react-scripts build && cp -r build/* ./cordova/www",
    "test": "react-scripts test",
    "eject": "react-scripts eject"
},
Next up, run your build:
npm run build
If all goes to plan, you'll have a build in your cordova/www folder. Now that we've done that, move into your cordova folder with cd cordova on the command line:
cd cordova
We can now add our device with the cordova command line. I will be adding iOS. You can do that by typing the following:
cordova platform add ios
Finally, we need to build our iOS app. To do that, run the following command in the cordova folder:
cordova build ios
Note: you need XCode installed to do this bit, so make sure you have it installed, and have opened it at least once before. On Android, you may have some similar limitations.
Step 5: Boot it up in XCode #
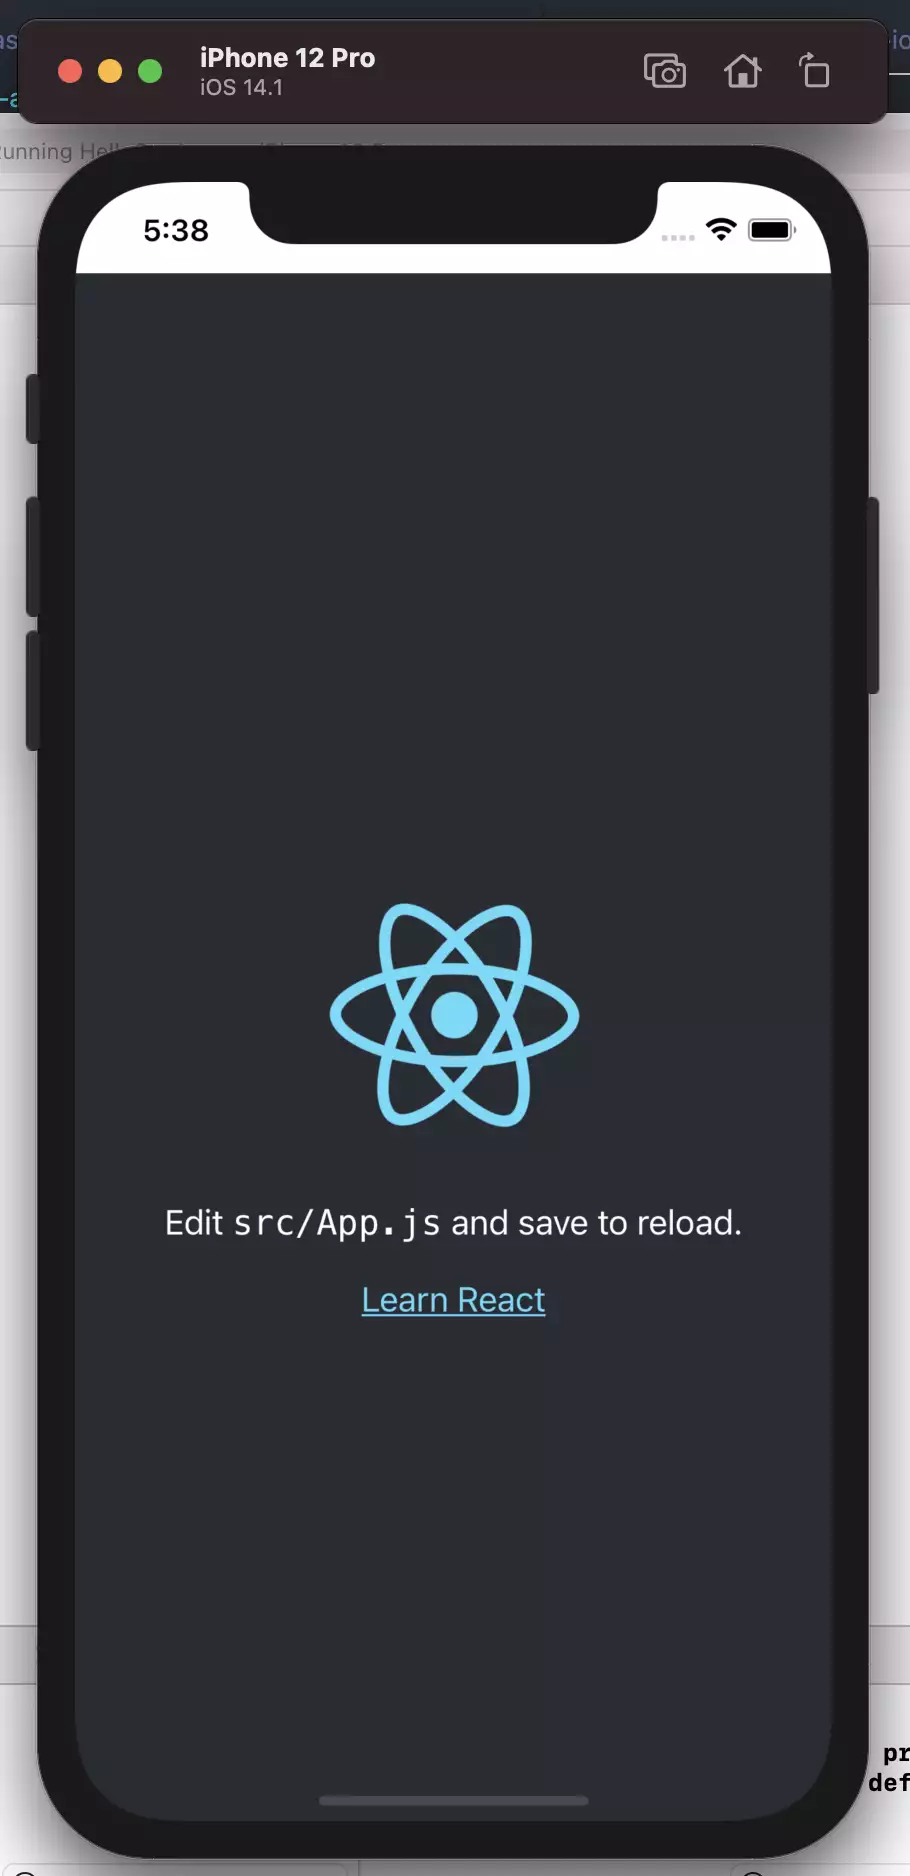
Next up, open your ./cordova/platforms/ios folder in XCode. When you do, you can emulate your new device, and you should have a fully functioning iOS app based off your React code:

Maintenance #
To maintain the latest version of your code when you add new features, simply run npm run build to build your React code, which will automatically create a version within cordova.
Follow this up with cd cordova to move into the cordova directory, and cordova build ios to ensure the latest build exists for XCode. You can create your own cordova build script as well, or combine everything into npm run build.
Conclusion #
We have covered iOS, but you can do the same for android with cordova platform add android and cordova build android.
After doing all this, it's just a case of updating your app icon and name. We hope you've enjoyed this article - see below for some links you may find useful: